
This article is about Plerdy tracking function. By default the heatmap shows the total number of clicks on the website elements. Due to “Events” you can see how many clicks has been made on the certain object since installing the Plerdy script.
For quick setup of the event tracking function try out Plerdy:
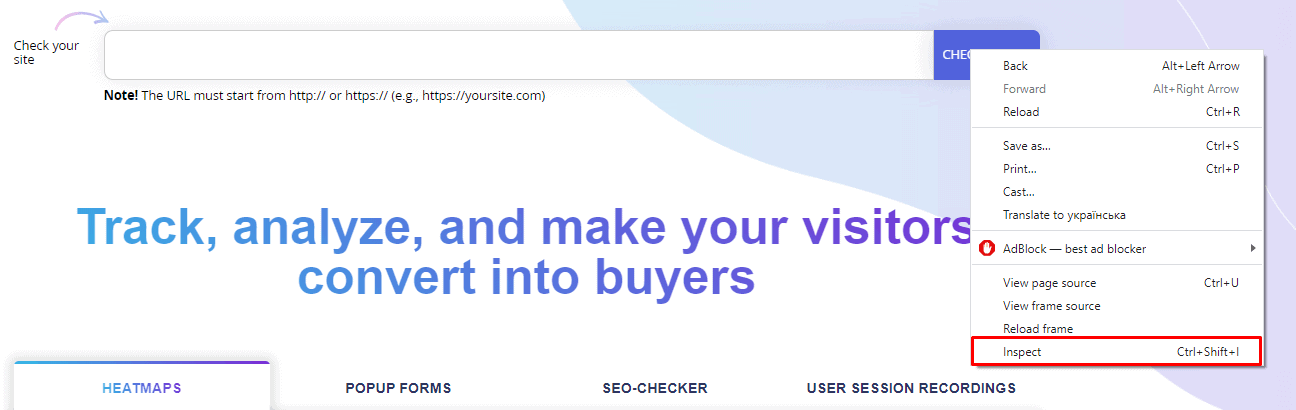
1. Open your website or its page with the element that should be tracked.
In our case we will use our website as an example for setting up the click tracking function by the “Check it now” button.

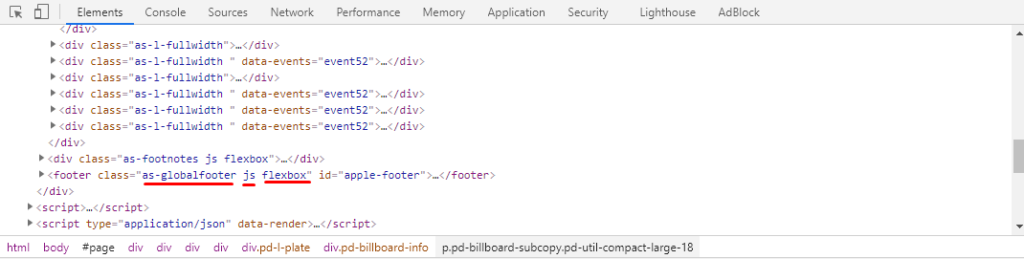
2. Hover on the required element and click the right mouse button on “Check”.
3. A tab with the highlighted code of the selected element will appear.
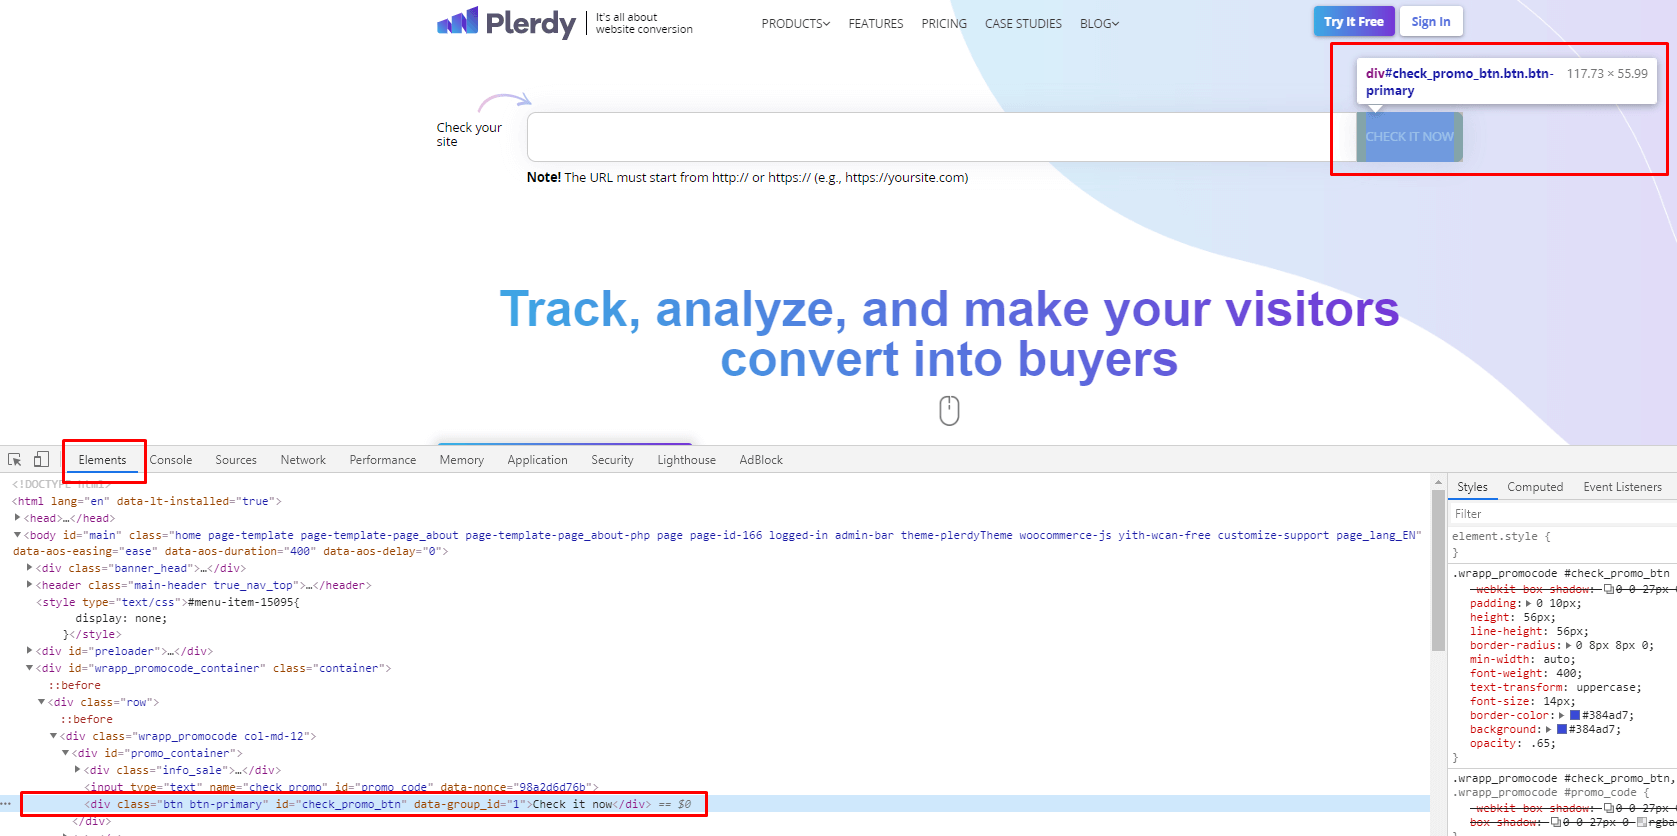
4. Copy the class or id of this element.

Pay attention:
If you choose the class of the element or unit of elements that is repeated on this page, all collected clicks will be summed up. In our case this button is given on all website pages but is repeated once only on the page. So, after setting up tracking the clicks by the button, you will see the number of clicks made on a certain page for the selected period.
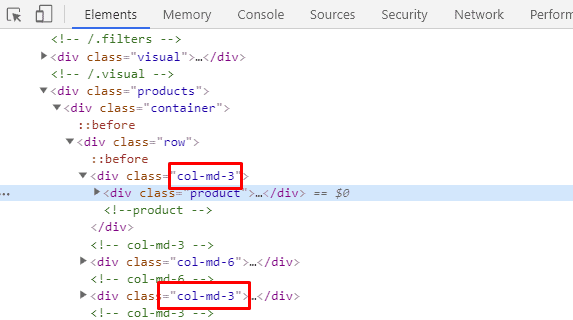
If you choose a unique class, all clicks on this element or all internal elements will be shown (e.g., for a product unit).

If you select the element or unit id, the clicks on internal elements will not be counted. The clicks on the element with the stated ID only will be counted. E.g., if you need the total number of clicks on the field and the “Check it now” button, then after tracking the event by the id of this unit the clicks will not be summed for the field and the button but will be displayed for the field only.

5. Enter your personal Plerdy account.
6. Open the “Conversion” > “Setting Goals/Events”.

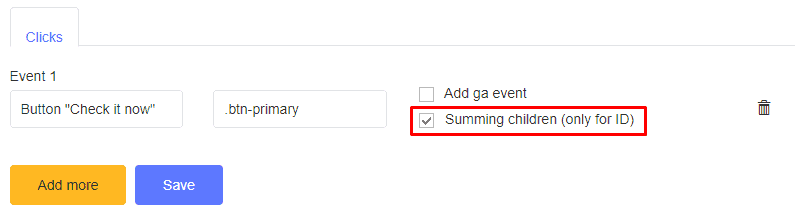
7. In the “Tag name” field write the name of the element or unit that should be tracked. You will be able to see the results by the name.
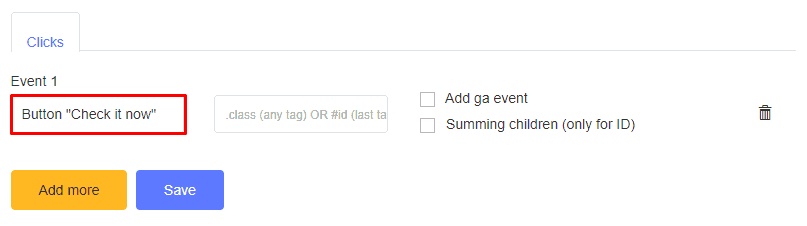
8. Paste the copied class and id in the “.class” field:
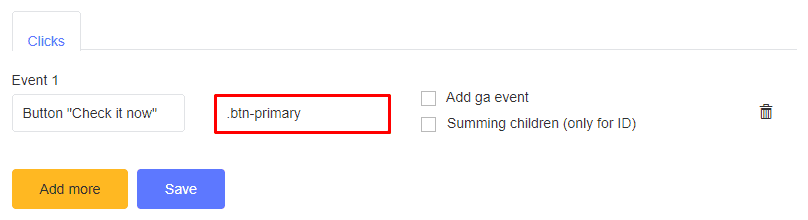
Pay attention:
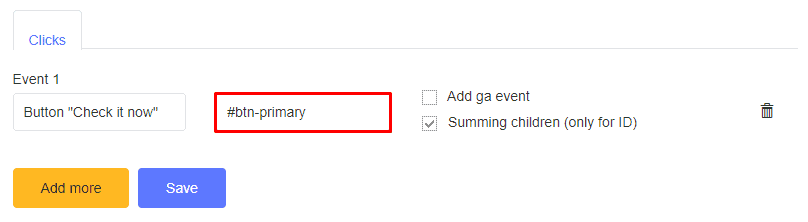
If you have copied the element or unit class, put a dot in the second field before the class name. E.g.: .btn-primary
If you have copied the element or unit id, put a # in the second field before the id name #. E.g.: #btn-primary
A one class or id only can be entered into one field. E.g., if the class or id has several elements, choose one only.
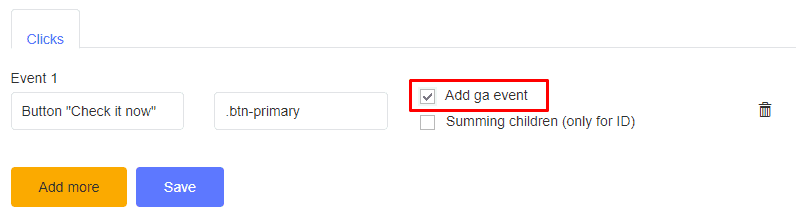
9. Tick “Add ga event”, and all your events will be sent to your Google Analytics account automatically.
10. Tick the “Summing children (only for ID)” if in the second field you have stated the element or unit id and class in the second field and want Plerdy to sum up all clicks on the internal elements of the unit.
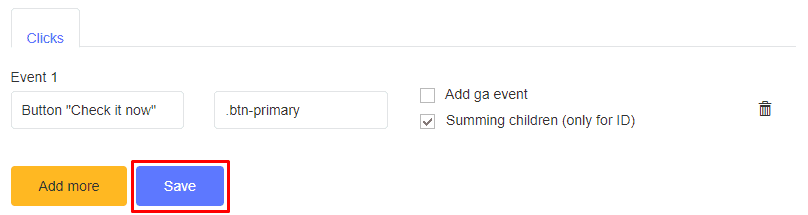
11. Click “Save”.
Congratulations! You have set up the Plerdy event tracking successfully.
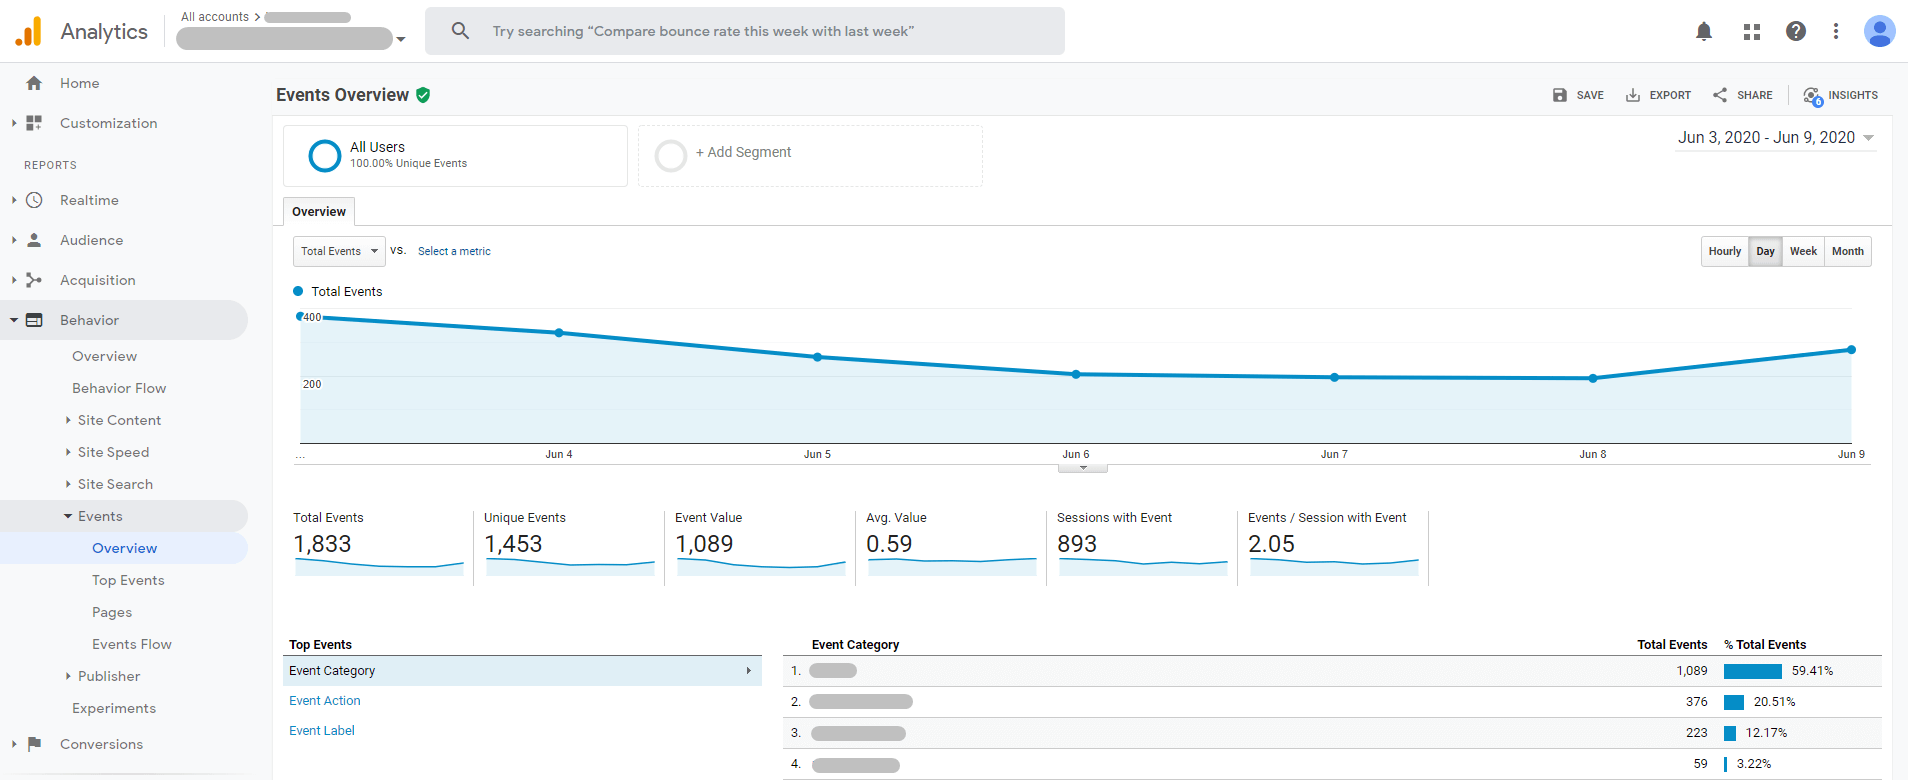
For checking the number of clicks by configured elements open the “Events” section in your Google Analytics account
or in Plerdy service in the “Conversion” > “Goals/Events” section

If you do not need to track the clicks on the previously selected element or unit, delete the information from the entered fields and save the changes again. That is all. Now the element would not be tracked.