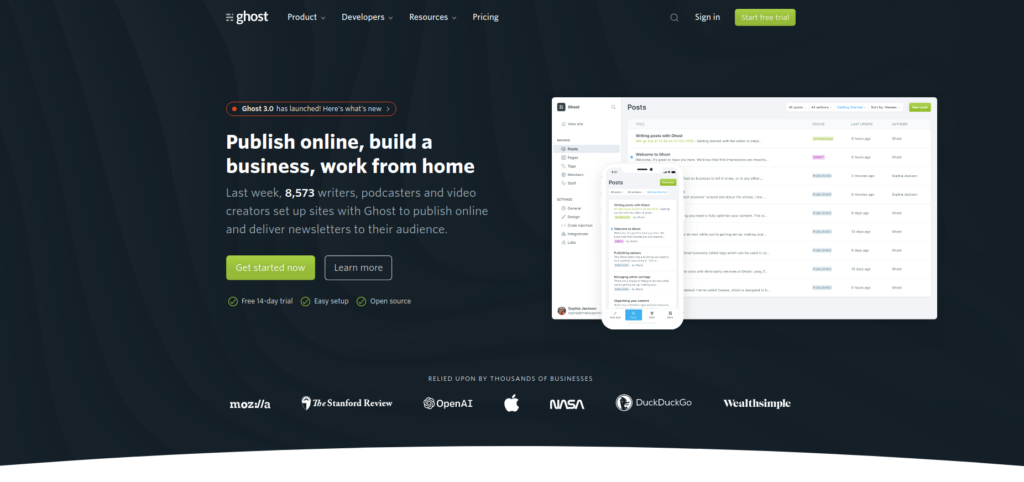
Ghost is an open-source blogging platform. Planned as a WordPress alternative, it was later transformed into a CMS. Ghost has an intuitive interface that allows creating a blog quickly and easily.
You can create a Ghost blog with an existing domain or use one of the offered domains.
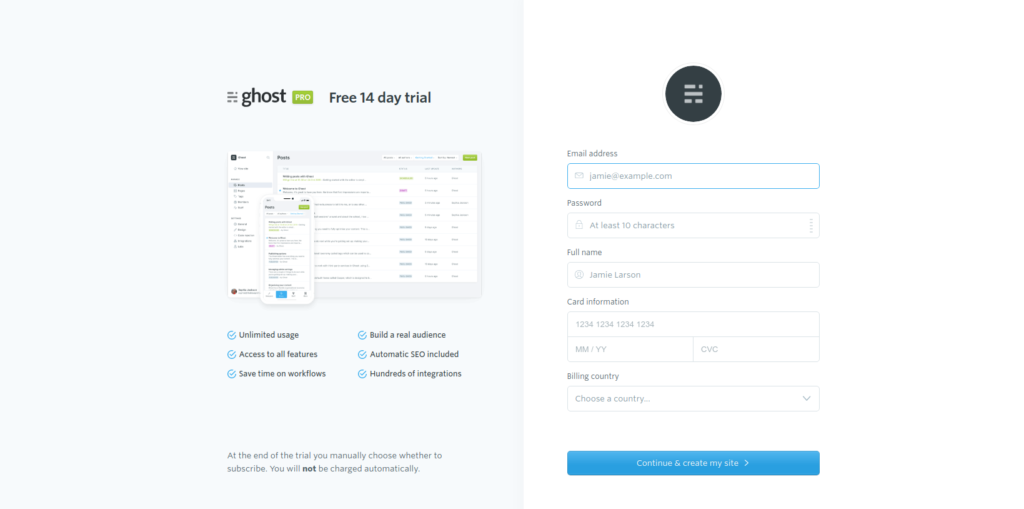
Currently, the Ghost blogging platform provides fee-based packages only. Therefore, you should select one of the Ghost plans: Basic – 36$; Standard – 99$; Business – 249$.
1. Register a Ghost blog.
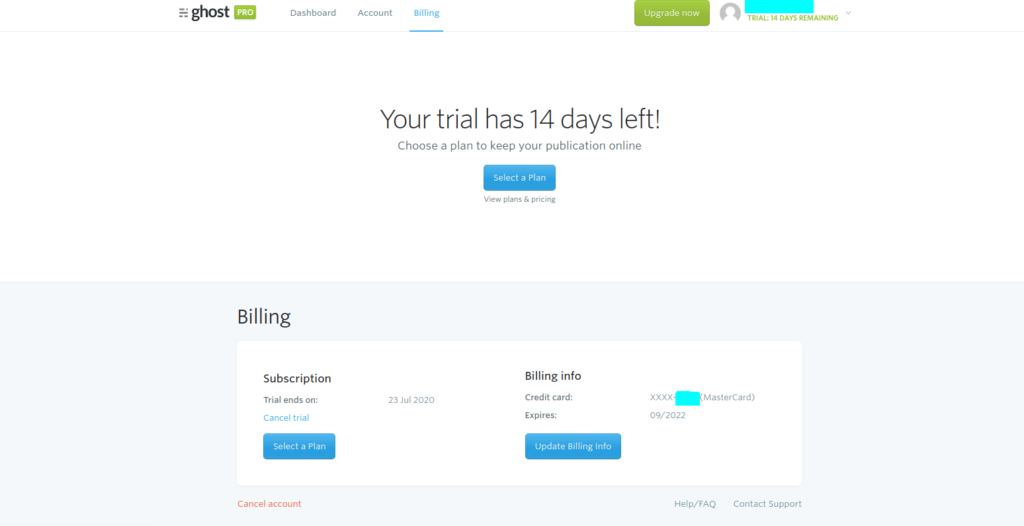
Enter your name, surname, email, password, and credit card details. Without active card data, Ghost won’t allow signing in. In addition, the amount payable for the selected package will be written off after the 14-day trial period ends.
After confirming these data, you will see the profile page to start the configuration.
2. Create an admin panel account for editing and setting up the Ghost blog.
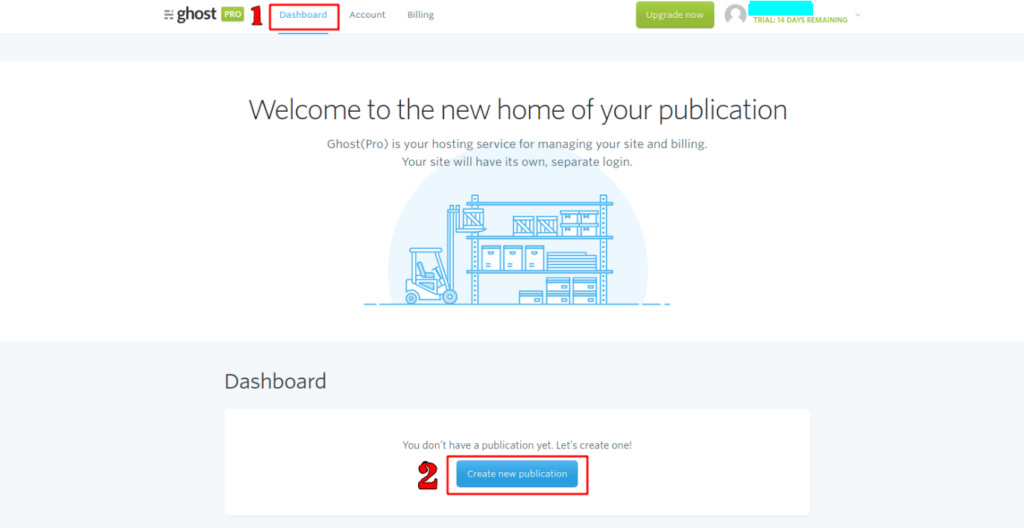
Open the “Dashboard” tab and press “Create new publication”.
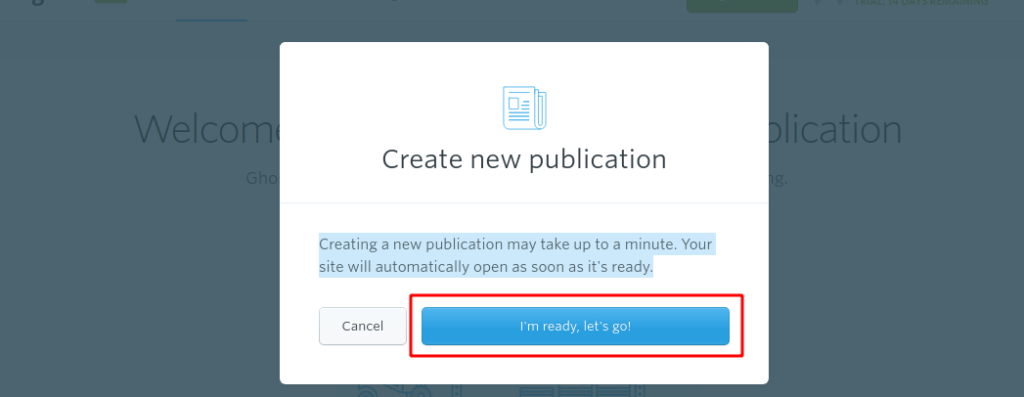
Press “I’m ready, let’s go!”> “Create your account”:
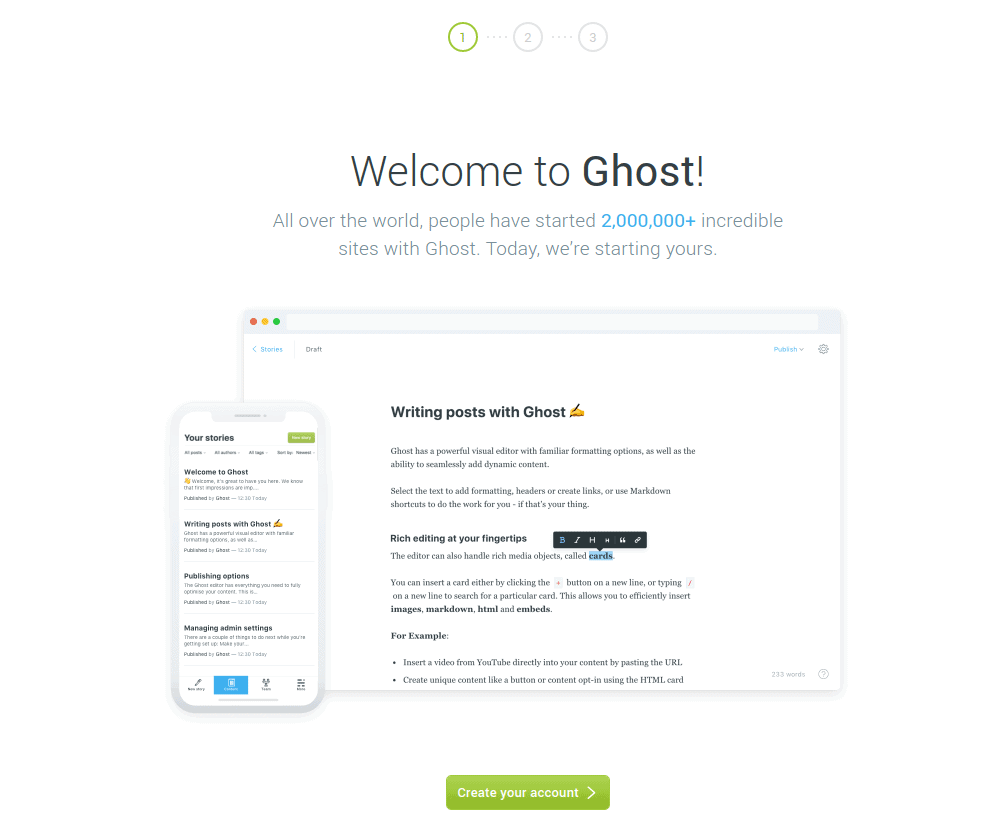
Enter the website name, your name, email, and password. Click “Last step: Invite staff users”:
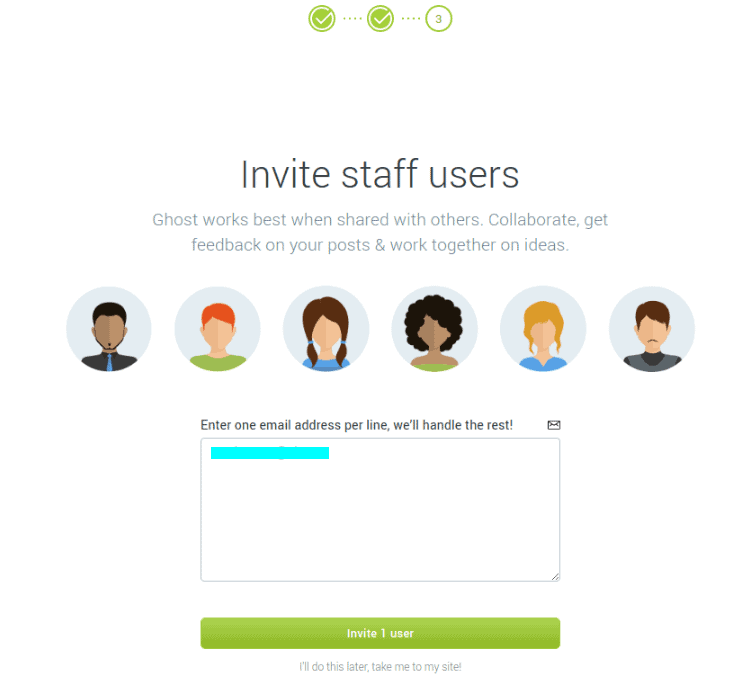
Enter the emails of users to grant them access to the admin panel and blog editing permission. After adding all users, press “Invite”:
3. Set up the Ghost blog.
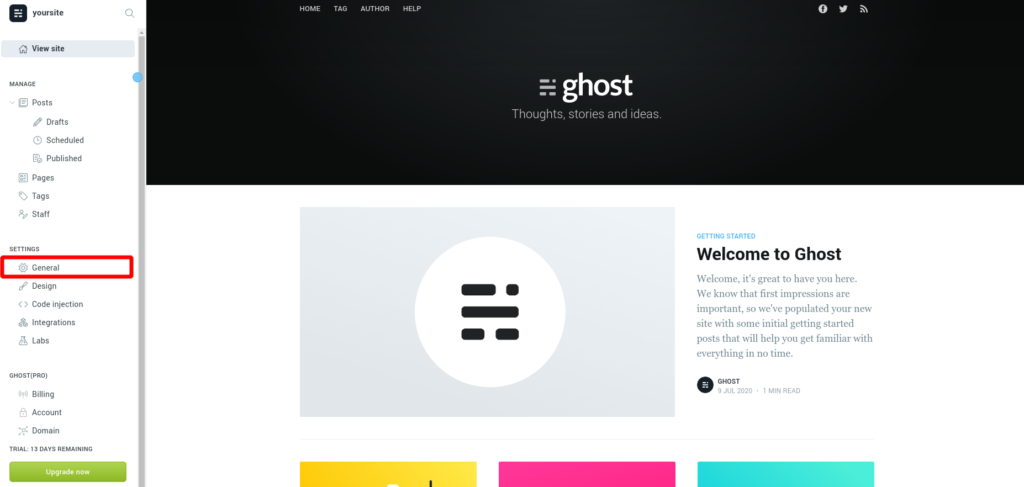
For starting at Ghost, open the “General” tab in the admin panel:
The General page contains the following settings:
PUBLICATION INFO – set up the header, brief description of the main blog page, the timezone, and language
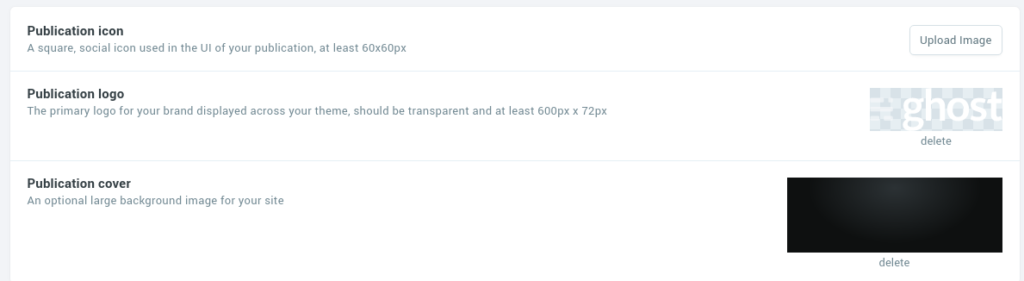
PUBLICATION IDENTITY – configure blog icon, logo, and background
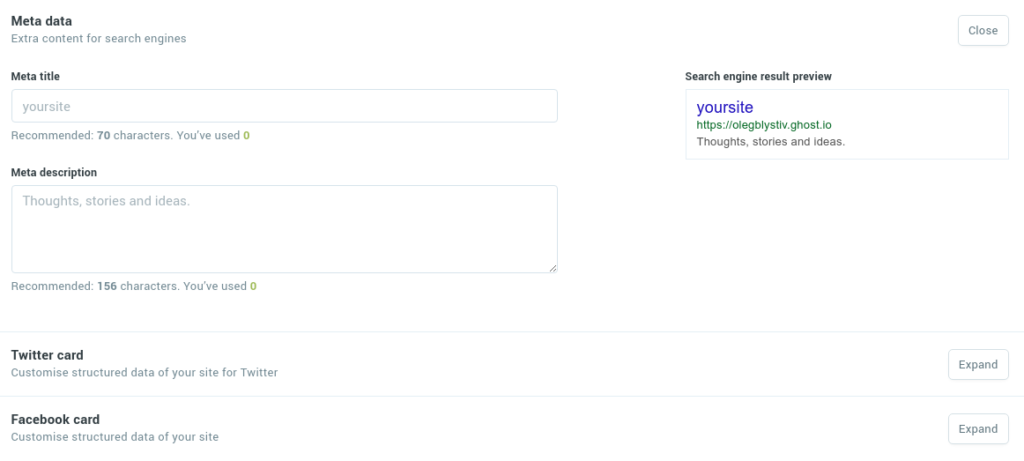
SITE META SETTINGS – configure blog metadata and the Open Graph markup for Twitter and Facebook
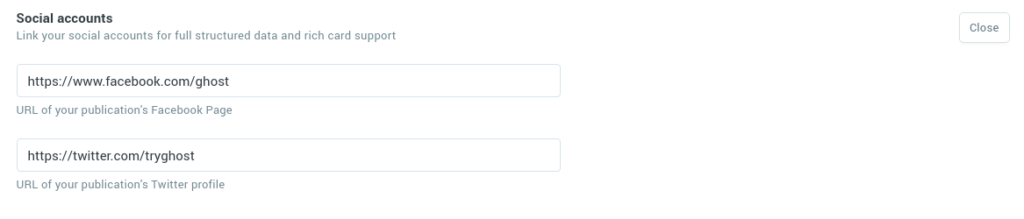
SOCIAL ACCOUNTS – add the URLs for Facebook and Twitter.
ADVANCED SETTINGS – hide your blog from search engine indexation. Use this function while setting up and editing the blog and re-open indexation after finishing.

4. Edit the Ghost blog design.
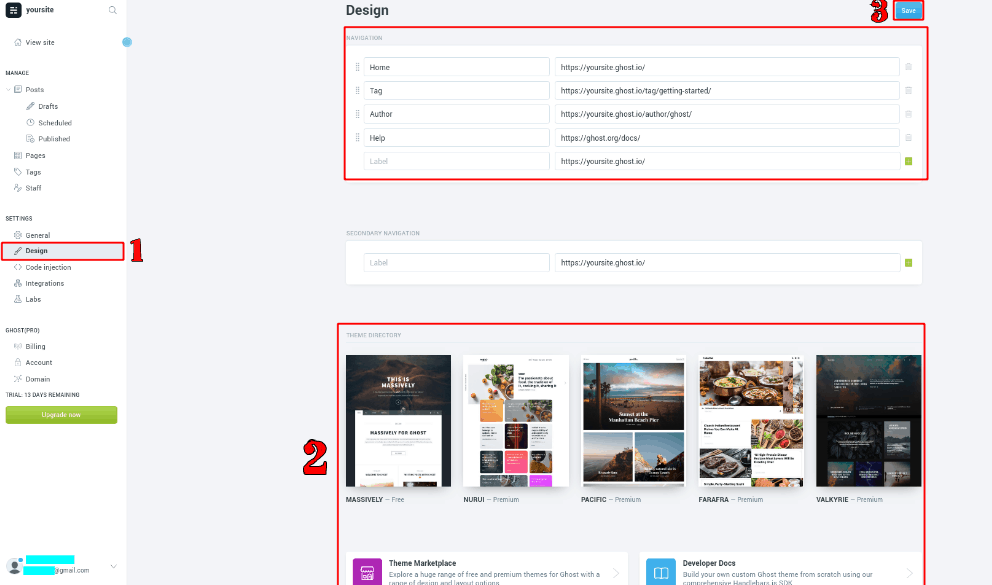
Ghost offers about 90 fee-based and 7 free themes. For selecting the theme, open the “Design” tab -> pick the theme -> click Save.
Here you can change the page URL, name, and location in the “Navigation” section.
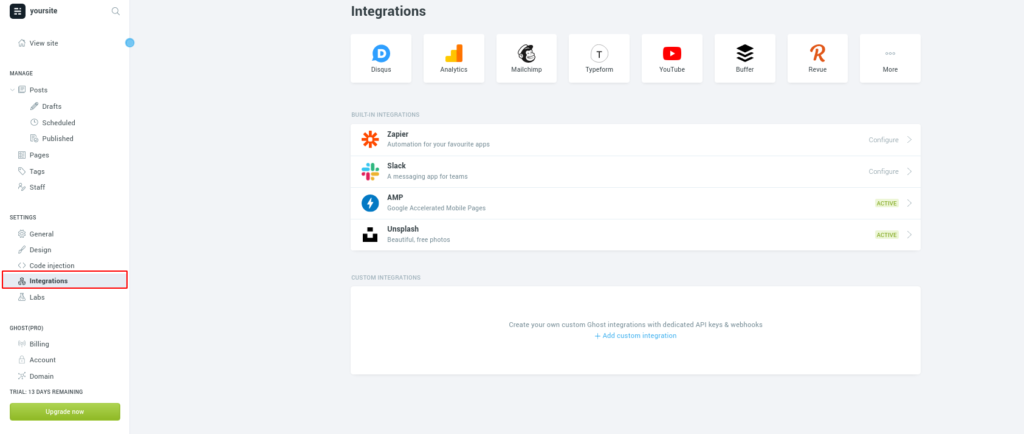
5. Integrate Ghost with other services.
Ghost integrates with Google Analytics, Zapier, MailChimp, Youtube, and other services. To connect the platform, go to “Integrations” in the side panel, select the required service, and Save. Ghost can also be integrated through an API.
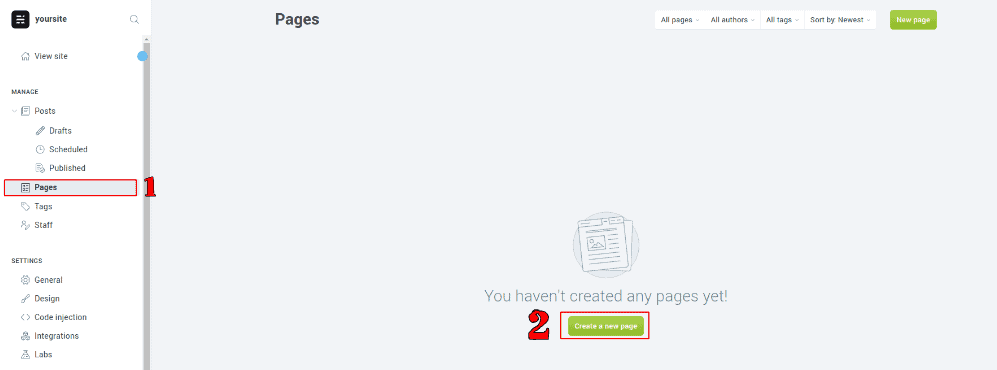
6. Create the first blog page.
Open the “Pages” section and press “Create a new page”:
Enter the header, description, add the required images, and edit the URL.
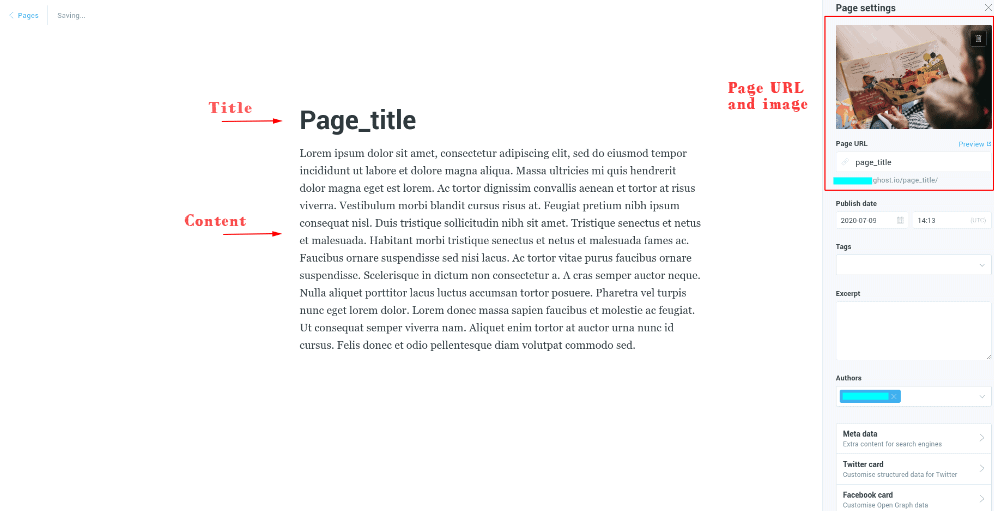
For publishing this page, press “Publish”:

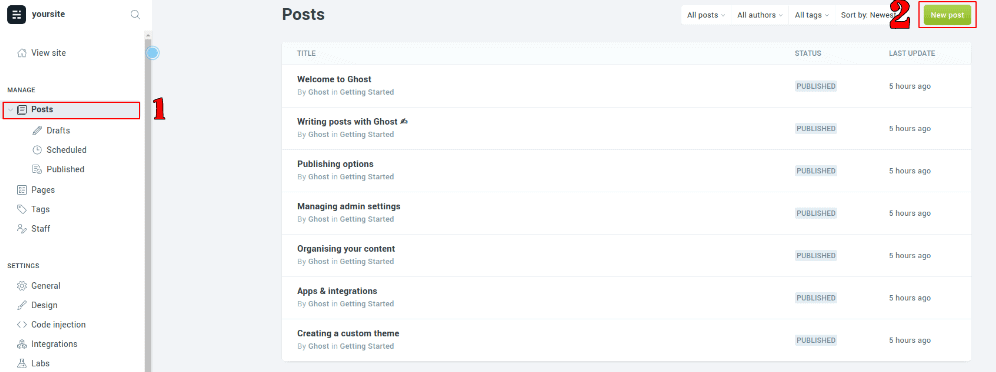
7. Create the first post for your blog.
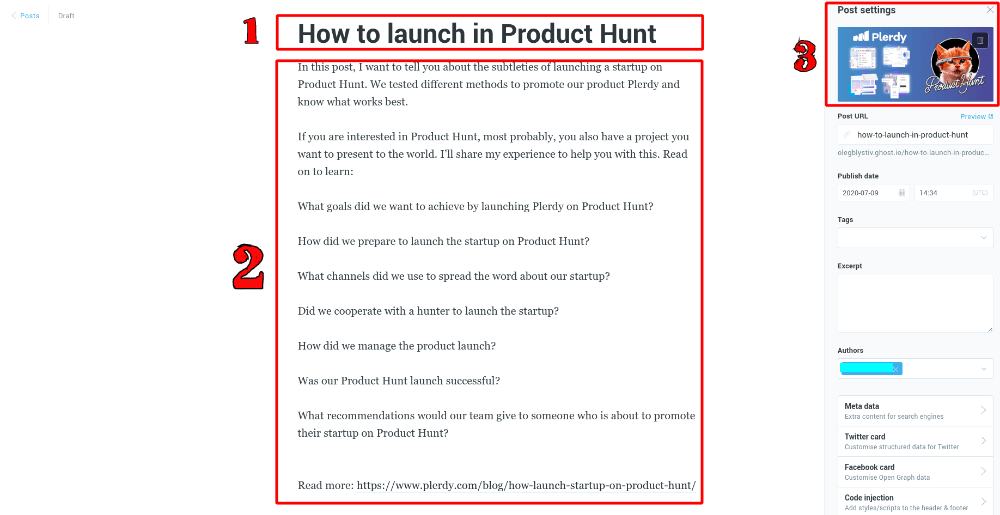
Open “Posts” -> “New post”:
Fill out post details. You can set up the date and time to publish the post automatically.
Press the “Publish” button.

Congratulations! Your blog has been created:)