Setting up your online store’s sales performance tracking in Plerdy requires basic HTML and JavaScript editing skills. If you’re not comfortable with this, consider seeking help from a specialist.

With Plerdy’s online store sales performance tracking, you can monitor key data such as:
- Number of transactions during a selected period.
- Number of unique users who made purchases.
- Total revenue of the online store.
- Conversion rate of the online store.
- Average order value.
- Quantity of products sold.

These metrics are categorized by traffic type and device, allowing you to analyze which sources are most profitable. Furthermore, Plerdy helps identify which elements of your store contribute to successful orders and their generated profit.
Steps for Implementation
To initiate Plerdy’s sales performance data collection, follow these steps:
-
- Copy the following script template:
<script type="text/javascript" defer>
    var plerdysendData = {'type':'commerce', 'data':
    {'order_id':'ORDER_ID', 'money':TOTAL_AMOUNT, 'quantity':QUANTITY}}
</script>
Note: TOTAL_AMOUNT should be a numeric value without currency, for example, 12.42.
- Replace ‘ORDER_ID’, TOTAL_AMOUNT, and QUANTITY with dynamic variables reflecting your store’s transaction data.
- Install the edited script on your order success page.
- Create a test order and check the Sales Performance tab in Plerdy. Verify that the data matches your order details.
- If all data is correct, your sales performance tracking is now active.
Examples for Implementing Tracking Code
WordPress Woocommerce
You can add the tracking code by automatically installing the WP plugin.
Shopify
You can add the tracking code to Shopify manually by following the instructions.
Magento
<script type="text/javascript" defer>
    var plerdysendData = {'type':'commerce', 'data':
        {'order_id':<?php echo $block->getRealOrderId(); ?>,
'money': <?php echo $order_details->total_paid; ?>,
'quantity':<?php echo $quantity_variable; ?>}
</script>
Note: Ensure that the $quantity_variable correctly reflects the number of products in the order.
Opencart
\catalog\controller\checkout\success.php
Before
$this->cart->clear();
$data['ids'] = $this->session->data['order_id'];
$data['products'] = $this->cart->getProducts();
$ids = $data['products'];
$money = 0;
$quantity = 0;
foreach ($ids as $idse){
    $money = $money + $idse['total'];
    $quantity = $quantity + $idse['quantity'];
}
$data['money'] = $money;
$data['quantity'] = $quantity;

\catalog\view\theme\...\template\common\success.twig

<script type="text/javascript" defer>
    var plerdysendData = {'type':'commerce', 'data':
     {'order_id':{{ ids }}, 'money':{{ money }}, 'quantity':{{ quantity }} }}}
</script>
CodeIgniter
{if strstr($CI->uri->uri_string(),'/order/view/')}
<script type="text/javascript" defer>
{literal}
var plerdysendData = {'type':'commerce', 'data': {'order_id':{/literal}

{echo $model->getId()}{literal},'money':{/literal}

{echo $model->getTotalPrice()}{literal}, 'quantity':{/literal}

{echo $model->getQuantity()} }}}
{literal}
</script>
{/if}
Note: Ensure that the getQuantity() function correctly returns the number of products in the order.
Wix
<?php
$order = json_decode($order);
$orderid = $order['order']['id'];
$ordertotal = $order['totals']['total'];
$orderquantity = $order['totals']['quantity'];
?>
<script type="text/javascript" defer>
    var plerdysendData = {'type':'commerce', 'data':
      {'order_id':<?php echo $orderid; ?>, 'money': <?php echo $ordertotal; ?>,
      'quantity':<?php echo $orderquantity; ?>}}
</script>
Google Tag Manager
You can also add an e-commerce tracking code via GTM.
Testing
Perform the following steps on your page in Chrome Incognito:
- Click on various elements on a single page.
- Make a test purchase.
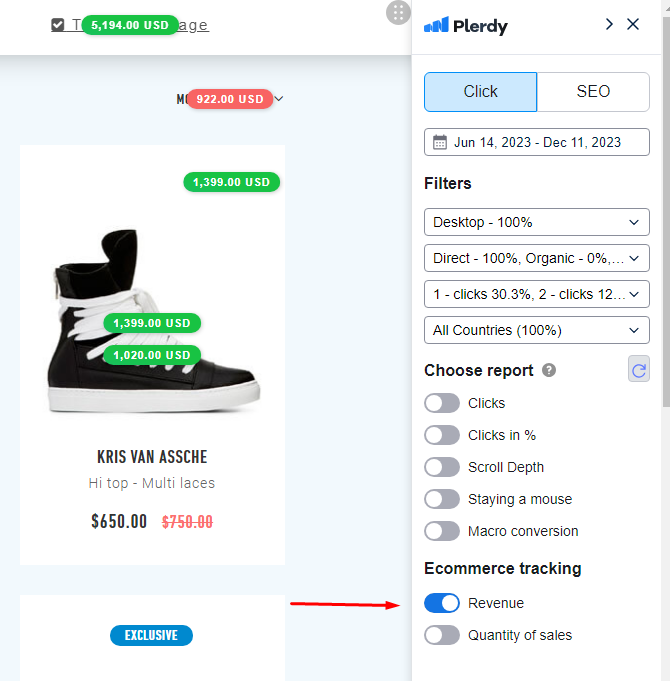
- In the menu panel, select “Today” and activate the report.
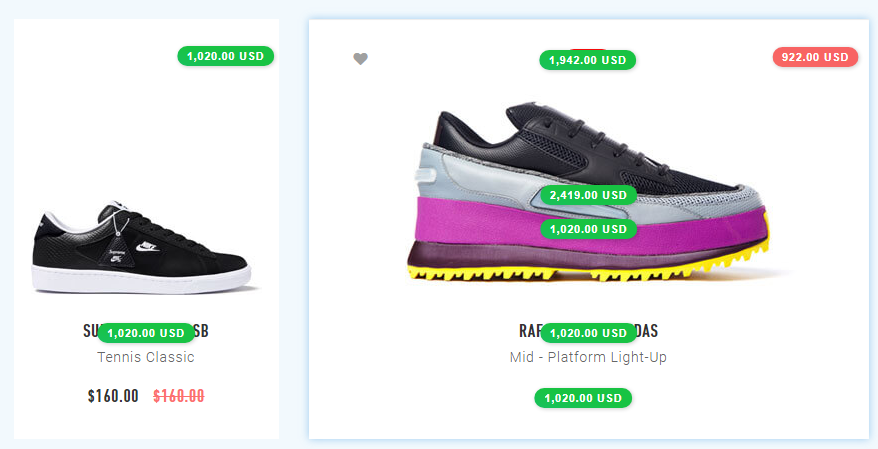
You will see which elements have been assigned the purchase amount.

